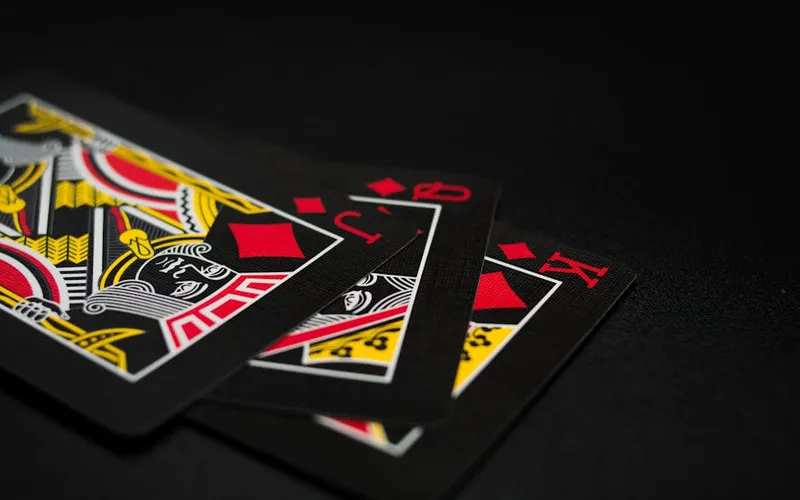
Blackjack Double Deck Strategy: The Chart, Decoded
Blackjack double deck strategy is mostly basic strategy with a sharper chart. The deck composition is friendlier, the doubles get more aggressive, and a handful of plays flip from what you would do at a 6-deck shoe. This post walks the chart hand by hand. Hard totals first. Soft totals next. Pairs after that. Then the deltas vs 6-deck and single-deck, the deviations that pay at a count, and the things that quietly kill the game even when the chart is perfect. Card counting is just math. The casino just really, really does not want you to do it. The chart is where the math starts.
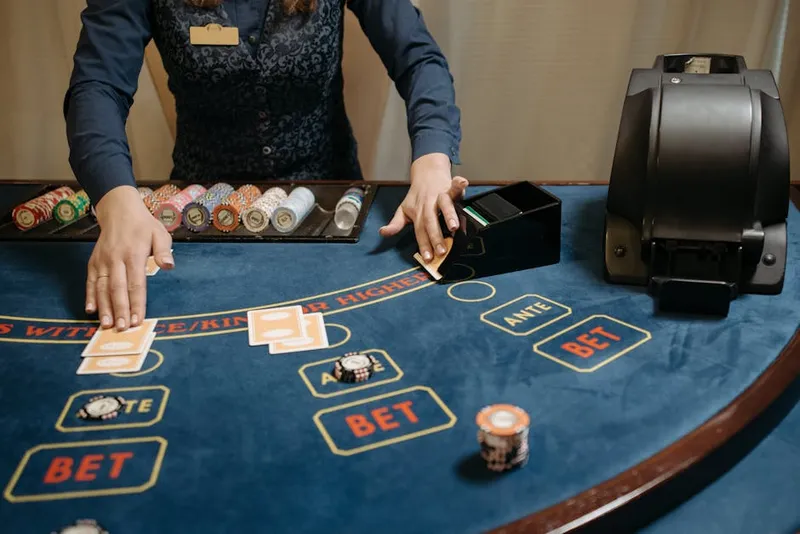
Blackjack double deck strategy starts with the chart that matches the table
Before reading a chart, read the placard at the table. The double deck blackjack rules can swing the house edge from -0.12% to -0.40% depending on six small variants. Same building, different tables, three times the house edge on the worse one. The chart you use depends on what you find.
The rules that move the chart:
- S17 vs H17. Dealer stands or hits on soft 17. S17 is worth about 0.20% to the player and changes a handful of double decisions, mostly soft hands.
- DAS vs no-DAS. Double after split allowed. Worth about 0.14% and unlocks several pair splits on a chart.
- Late surrender. Worth about 0.08%. Adds three or four surrender plays to the bottom of the chart.
- 3:2 vs 6:5 payout. Non-negotiable. A 6:5 payout adds roughly 1.39% to the house edge and erases the entire deck advantage. Never play 6:5.
- Re-splitting aces. Worth about 0.08%. Most North American 2D games allow one split on aces and no more.
The default assumption in this post is the best public 2D ruleset: 2D, S17, DAS, LS, 3:2 payout. The house edge off the top is -0.12%. Variants get noted where they shift a play. The Wizard of Odds blackjack appendices carry the full house edge table by ruleset if you want to verify the math against the chart you intend to use.
If the table is 6:5, walk past it. A 6-deck 3:2 game is a better play than a 2-deck 6:5 game by about 1% of every dollar you bet. The headline says "two decks." The math says the casino is laughing.

Hard hands on the double deck blackjack chart
Hard hands are every total that does not use an ace as 11. Most decisions match what you already know from the 6-deck chart. The ones that flip live in the doubles.
- Hard 5 through 8: always hit. No double, no stand. Take a card every time.
- Hard 9: double vs 2 through 6, hit otherwise. At a 6-deck table you hit vs 2. At 2D S17 you double. This is the first delta most players miss.
- Hard 10: double vs 2 through 9, hit vs 10 or A. Same as 6-deck.
- Hard 11: double every dealer up card. Including ace. At 2D you double 11 vs A, full stop. At 6D H17 you hit. Drill this one. It is the cheapest leak on the chart for someone moving from 6D to 2D.
- Hard 12: stand vs 4 through 6, hit vs 2, 3, 7 through A. A 12 vs 2 looks like a stand to a lot of new players. Hit it.
- Hard 13 through 16: stand vs 2 through 6, hit vs 7 through A. Standard chart. The 16 vs 10 is the hand that costs new players the most. It is a hit at neutral count and a stand at TC 0 with no deviation. Drill the hit.
- Hard 17 through 21: always stand. No exceptions on basic strategy. The count moves some of these later, not on this chart.
The whole hard-hand block is six decisions repeated against ten up cards. Sixty cells. Most are obvious. The ones that hurt are 9 vs 2, 11 vs A, and the soft-handed cousins below. Drill those three before the casino, not at the casino.
A new counter who is sloppy on basic strategy is donating a bigger edge to the house than they will ever recover by counting. Basic strategy mastery matters more than counting in the first six months. A perfect basic strategy player at a 6D H17 DAS LS game is already at -0.47%. Most casino players give up another 1 to 2% by misplaying soft hands, deviating from BS by feel, and mishandling pairs. Fix the chart first. Then add the count.
Soft hands and the 2-deck blackjack strategy you need
Soft hands are the ones using an ace as 11. They are where the chart works hardest, and where most home players guess wrong. The 2-deck chart adds two or three soft doubles that the 6-deck chart does not have.
- A,2 (soft 13): double vs 4, 5, 6, hit otherwise.
- A,3 (soft 14): double vs 4, 5, 6, hit otherwise. Add vs 4 on H17 if the table is H17.
- A,4 (soft 15): double vs 4, 5, 6, hit otherwise.
- A,5 (soft 16): double vs 4, 5, 6, hit otherwise.
- A,6 (soft 17): double vs 3 through 6, hit otherwise. Hit vs 2. Never stand on soft 17.
- A,7 (soft 18): double vs 3 through 6, stand vs 2, 7, 8, hit vs 9, 10, A. At 2D S17 you can also double vs 2. At 2D H17 you can double vs 2. Either way, do not stand vs 9, 10, or A. Hit the 18.
- A,8 (soft 19): stand vs everything on S17. Double vs 6 on H17. A,8 vs 6 H17 is the single tell that you actually drilled the right chart for the table.
- A,9 (soft 20): always stand. No double, no exceptions on this chart.
Two soft hands cost most players real money. Soft 18 vs 9 or 10, where players stand instead of hitting. And A,8 vs 6 on H17, where players stand instead of doubling. Both are small individual EV losses. Compounded over a session, they cost more than the count earns at TC+2.
Drill the soft chart on its own. Run twenty hands of soft totals against every up card, then check yourself against the chart. Twenty minutes a day in the trainer beats two hours once a week.
Pairs and splits in double deck basic strategy
Pairs are the second hand most players play by feel. The chart is short and the corrections are large.
- A,A: always split. No exceptions. A,A unsplit is a soft 12 and the worst hand on the table.
- 2,2: split vs 2 through 7, hit otherwise. No-DAS games tighten to split vs 4 through 7 only.
- 3,3: split vs 2 through 7, hit otherwise. No-DAS tightens to split vs 4 through 7.
- 4,4: split vs 5 and 6 only on DAS. Hit otherwise. A 4,4 is a hard 8. Splitting two 4s into two new hands is a bad idea against most up cards. Only against a dealer 5 or 6 with DAS does the math flip.
- 5,5: never split. Treat as a hard 10. Double vs 2 through 9, hit vs 10 or A.
- 6,6: split vs 2 through 6. Hit otherwise. No-DAS tightens to split vs 3 through 6.
- 7,7: split vs 2 through 8 at 2D S17. Hit otherwise. The vs 8 is a 2D specific. At 6D you stop splitting 7s at the dealer 7.
- 8,8: always split. Including vs 10 and A. The 16 it makes unsplit is the worst hand on the table. Split it and play two new hands.
- 9,9: split vs 2 through 9 except 7. Stand vs 7, 10, A. Most players miss the stand vs 7.
- 10,10: never split. A 20 is a 20. The math says stand. Splitting tens is the play movies show because it looks dramatic. The chart says do not.
A common mistake at the pair row: splitting tens at a low count for a recreational table image. Never sacrifice EV for cover. The best cover is a convincing character at the right bet size, not a wrong play.

Double deck basic strategy vs 6-deck and single deck
Most plays match. The differences between a clean 2D chart, a clean 6-deck chart, and a single-deck chart are small in EV and large in mind share. The plays that actually flip:
2D vs 6-deck S17 DAS LS:
- Double 11 vs A. Correct in 2D. Hit in 6D H17. Hit in 6D S17 too at most rule sets.
- Double 9 vs 2. Correct in 2D S17. Hit in 6D.
- Double A,8 vs 6 (H17 only). Correct in 2D H17. Stand otherwise.
- Double A,7 vs 2 (most rulesets). Correct in 2D. Stand in 6D.
- Split 7s vs 8 on S17. Correct in 2D. Hit or stand in 6D depending on the variant.
2D vs single-deck:
- Double 8 vs 5, 6. Correct in single deck. Hit in 2D.
- Double 11 vs A. Correct in single deck. Correct in 2D. Hit in 6D H17.
- Split 7s vs 8. Correct in single deck. Correct in 2D S17. Stop short of 2D H17.
- Several composition-dependent plays in single deck (4-card 16 vs 10 stands at a counted shoe) do not generalize to 2D.
That is the entire shift list for the 2D chart against its closest cousins. The rest is identical. Drill the chart that matches the table you sit at. A 2D player at a 6D table is leaking EV on every soft 18 doubling decision they get wrong. The math is not forgiving on that mistake.

Insurance, surrender, and the deviations that pay
Basic strategy ends where the count begins. The Illustrious 18 and Fab 4 indices apply at 2D the same way they apply at 6D. The TC trigger is the count, not the deck count. A few index plays swing harder in 2D because the count moves faster per card.
The high-EV 2D index plays:
- Insurance at TC+3. Take it. Skip it otherwise. Insurance is the single highest-EV play in the Illustrious 18 at any deck count. The basic strategy answer (never insure) is correct for non-counters. It is wrong for anyone running Hi-Lo.
- 16 vs 10 stand at TC 0. Basic strategy says hit. The deviation stands at neutral count and up.
- 15 vs 10 stand at TC+4. Hit at low counts. Stand at +4 and up.
- 12 vs 3 stand at TC+2. Switches from hit to stand at +2.
- 10,10 vs 5 or 6 split at TC+5. Rare. When it applies, the bet is already big.
- Late surrender 15 vs 10 at TC 0. If LS is on the table, take it from neutral count up.
You only double tens on a dealer ten at TC+4 and above. By the time that index applies you almost always have real money on the table. I had $500 out at a Vancouver 2D table. The count was there. I pushed another $500 out to double. The table went quiet. Dealer paused. That particular silence where everyone is trying to figure out if you are the dumbest person at the casino or the smartest one. It hit. Dealer paid $1,000. The cover almost writes itself. Act like someone with money who does not care. Throw it out willy nilly. Let them see a degenerate with a big wallet instead of a trained professional who did the math before the cards were dealt.
The deviations are where the count earns most of its money in shoe games. Skipping them means you are paying for the count without using it. The Pro tier on CountEdge covers the I18 and Fab 4. The Elite tier adds the Deviation Drill screen with shoe mode that runs the count under you and surfaces an index play at the count where it applies. For deeper math on index plays and side-bet adjacencies, Eliot Jacobson's archive at APHeat is the working pro reference.
Where blackjack double deck strategy stops working
A chart cannot save a bad table. Knowing the limits is part of the strategy.
The post-chart tells:
- Continuous shuffle machine. A CSM resets composition after every hand. Hi-Lo cannot work on a CSM table. There is no advanced play that beats a CSM. Find a different table.
- Penetration below 60%. A 2D game cut at half is a worse game than a 6D game cut at three quarters. Watch the cut card before you sit. Walk if it takes too much out of play.
- 6:5 payout, ever. The chart cannot pay you back what 6:5 takes. Not even at TC+8.
- Bankroll under 250 average bet units. Schlesinger's Risk of Ruin formula sets the floor: RoR = e^((-2 × evHourly × bankroll) / varHourly). At a $25 average bet that is $6,250. Below that, the math says your Risk of Ruin is too high to run any real spread.
For a deeper read on bet ramps, cover, and the heat that comes with a 2D table specifically, the existing double deck blackjack strategy post covers the table-side work. This post is the chart. That post is the room around it. The trainer is where both get drilled.
A 2D table has more eyes per dollar bet than any other game on the floor. Somewhere right now a pit boss is watching someone's eyes at a 2-deck table and that someone is just trying to remember if they ordered the ribeye or the salmon. Be the second person. The chart stays in your head. The character stays on your face.
The 2-deck S17 DAS LS table at 3:2 is the best public blackjack game in the casino. The base house edge is -0.12% with the chart played cleanly. A clean Hi-Lo player at a moderate spread pulls another +1.0 to +1.5% on top of that, depending on penetration and ramp shape. The math is settled. Griffin proved it. Schlesinger proved it. The variable left is whether you can run the chart cold, drill the deviations until 16 vs 10 at TC+5 with $200 on the felt is automatic, and sit at a 2D table long enough to actually collect the EV.
Drill the chart on the free CountEdge tier for the basic strategy work. The 14-day Pro trial opens the running count, true count, I18, and Fab 4 drills. The Elite tier adds 2-deck game support, the Deviation Drill screen, and the Cover Coach. The full origin story is on the About page. The math is on every blog post. The next 2-deck shoe is at the casino tonight. Drill the chart first.